Long Video Generation
Most AI video tools only let you create 5-10 second clips. But what if you need a longer video? This workflow shows you how to chain multiple clips together seamlessly to create videos that are 20, 40, or even 60+ seconds long.
What We’ll Build
Section titled “What We’ll Build”We’ll create a 20-second video by connecting two 10-second clips together. The trick? We make the ending frame of Clip A match the starting frame of Clip B, so they blend seamlessly.
What you’ll create:
- 3 still images (the “anchor points” for our videos)
- 2 video clips (that transition between the images)
- Optional: Add voice and lipsync for a talking avatar effect
Part 1: Create Your Images
Section titled “Part 1: Create Your Images”First, we’ll generate three images that show different poses or actions. Think of these as the “snapshots” that will mark the beginning, middle, and end of our video sequence.
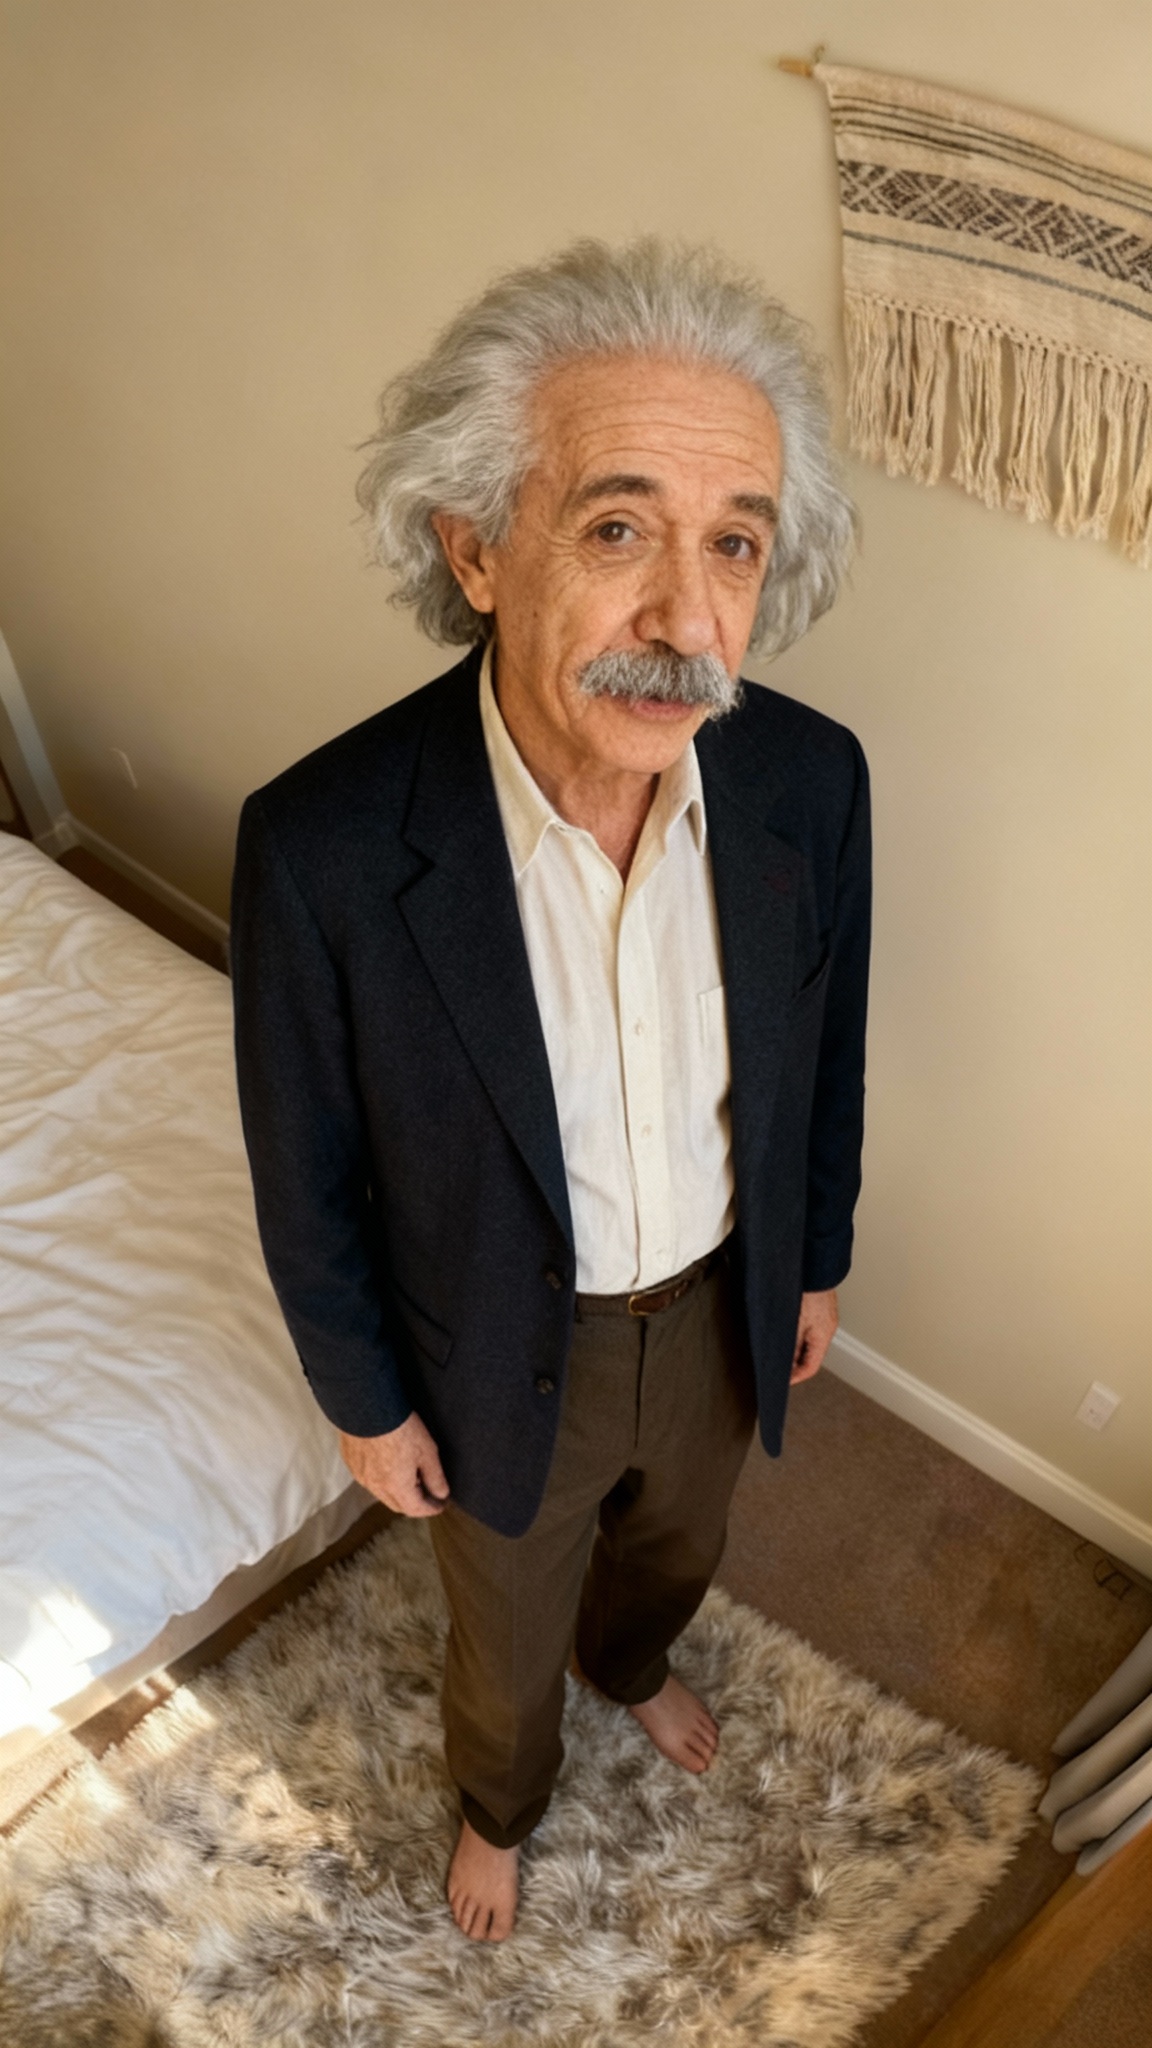
Step 1: Generate Your Starting Image
Section titled “Step 1: Generate Your Starting Image”We’ll create the first image showing Einstein standing in a bedroom.
-
Open the Image Generation tool and select
Seedream v4 -
Use this prompt and set aspect ratio to 9:16:
"Albert Einstein is standing in the middle of a bedroom in 2024. He is wearing casual men clothes. [9:16]." -
Click Generate
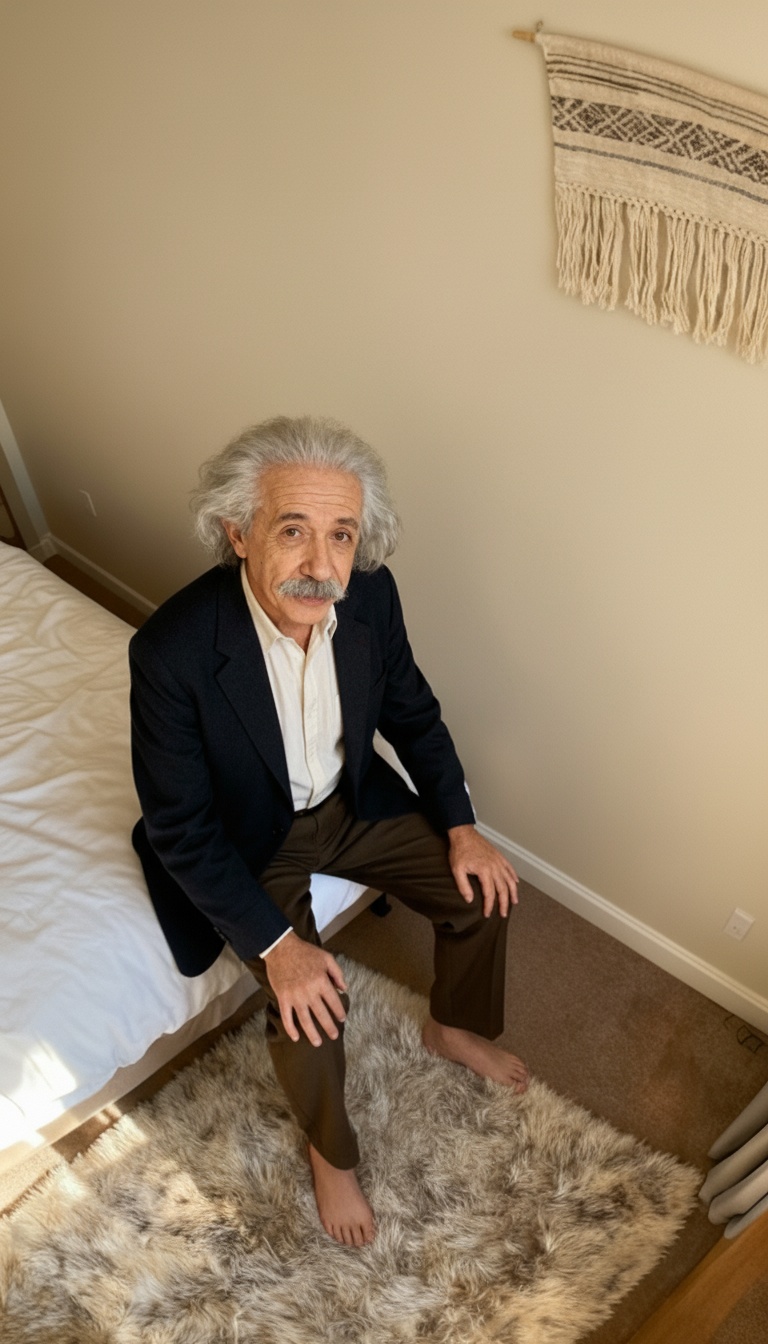
Step 2: Create Image 2 (Sitting Down)
Section titled “Step 2: Create Image 2 (Sitting Down)”Now we’ll edit the first image to show Einstein sitting instead of standing.
-
Open the Image Editing tool and select
Seedream v4 Edit -
Drag Image 1 into the image input field
-
Use this prompt:
"Edit Reference: Do not modify anything except the man. Make the men sit. Keep the angle exactly the same" -
Click Generate
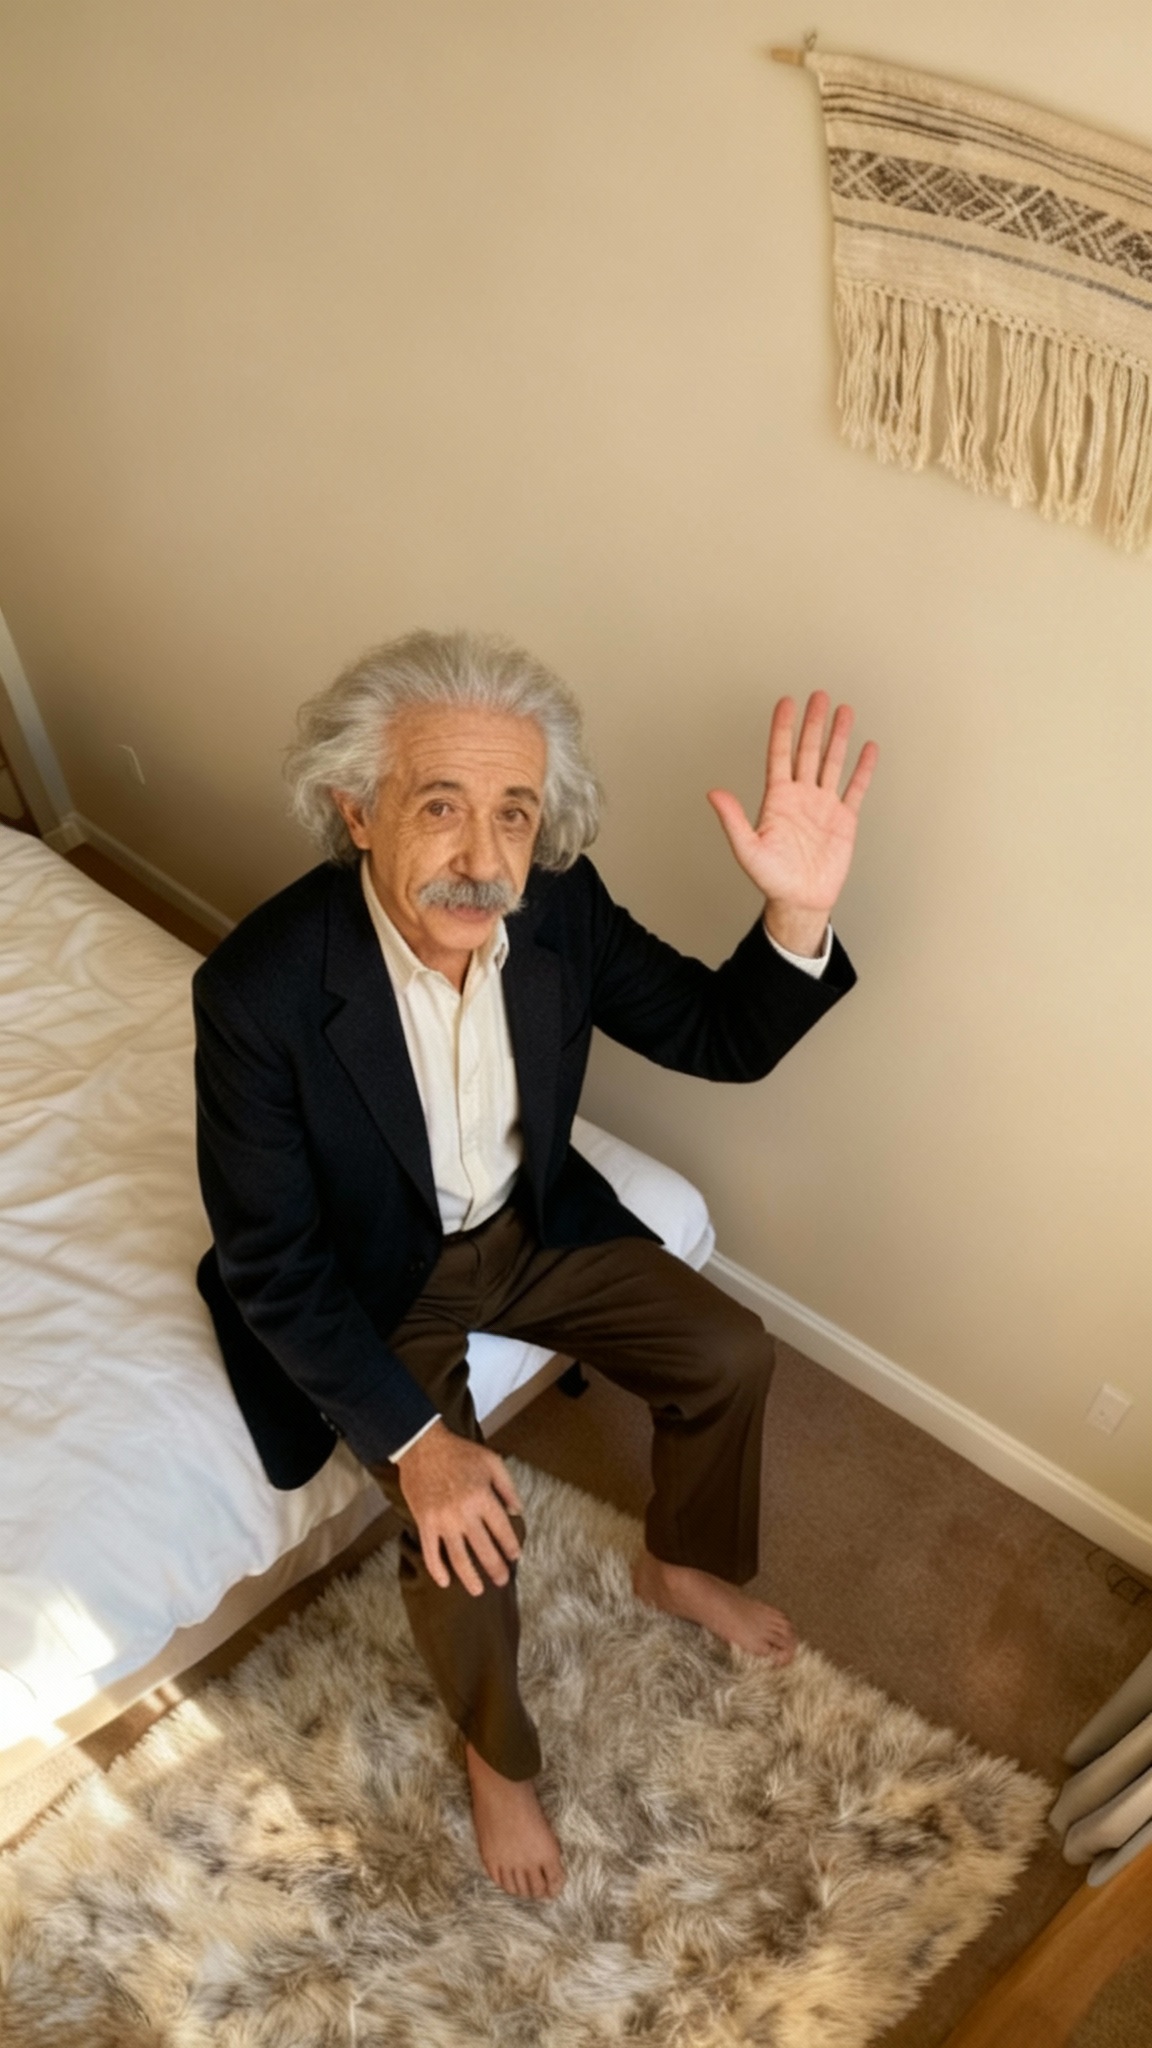
Step 3: Create Image 3 (Waving Goodbye)
Section titled “Step 3: Create Image 3 (Waving Goodbye)”Now we’ll edit Image 2 to add a waving gesture.
-
In the Image Editing tool with
Seedream v4 Editselected -
Drag Image 2 into the image input field
-
Use this prompt:
"Make the hand towards the wall wave like saying good bye" -
Click Generate
Part 2: Turn Images into Videos
Section titled “Part 2: Turn Images into Videos”Now for the magic! We’ll create two video clips that smoothly transition between our three images.
Step 4: Create Video Clip A
Section titled “Step 4: Create Video Clip A”This clip will show Einstein talking and sitting down on the bed (transitioning from Image 1 to Image 2).
-
Open the Video Generation tool and select
Kling 2.1 Pro -
Set First Frame = Image 1 and Last Frame = Image 2
-
Use this prompt and set duration to 5-10 seconds:
"The guy is continuously talking while keeping his look the same. While talking he gesticulates and sit on the bed." -
Click Generate
Step 5: Create Video Clip B
Section titled “Step 5: Create Video Clip B”This clip will show Einstein continuing to talk and then waving goodbye (transitioning from Image 2 to Image 3).
-
In the Video Generation tool with
Kling 2.1 Proselected -
Set First Frame = Image 2 and Last Frame = Image 3
-
Use this prompt and set duration to 5-10 seconds:
"The man talks to the camera while gesticulating confidently on the side without blocking the view of the face. The hand never covers his face. In the end waves with his hand saying good bye." -
Click Generate
Part 3: Combine Your Clips
Section titled “Part 3: Combine Your Clips”Stitch Everything Together
Section titled “Stitch Everything Together”Now let’s combine Clip A and Clip B into one long video.
- Open your video editor (CapCut, Premiere Pro, DaVinci Resolve, or any editor you prefer)
- Import Clip A and Clip B
- Place them back-to-back on your timeline
- The transition should be seamless—no awkward jump cut!
- Add captions, background music, or color grading if you’d like
You now have a 20-second video! And the best part? You can keep going with Clip C, D, E… to make it even longer.
Optional: Add Voice and Lipsync
Section titled “Optional: Add Voice and Lipsync”Want Einstein to actually speak with realistic lip movements? Here’s how to add voice to each clip.
Add Voice to Clip A
Section titled “Add Voice to Clip A”- Open the Lipsync tool and drag Clip A into the video input
- Click Create Speech to open the Speech Generation tool
- Choose a voice (like
ElevenLabs), enter your script, and click Generate - Back in the Lipsync tool, select
Sync Lipsync v2 Proand click Generate
Add Voice to Clip B
Section titled “Add Voice to Clip B”Repeat the same process for Clip B
Tips for Best Results
Section titled “Tips for Best Results”- Keep clips short (5-10 seconds): Longer clips cost more credits and can drift away from your anchor images
- Change one thing at a time: Between images, only change the pose—keep lighting, outfit, background, and camera angle identical
- Use the same camera framing: Don’t zoom in or out between images, or the transition will look jarring
- Test before adding voice: Stitch your clips together first to make sure the transitions work smoothly, then add lipsync
Want to Go Even Longer?
Section titled “Want to Go Even Longer?”You can keep extending this pattern! Create Image 4, then Clip C (Image 3 → Image 4). Create Image 5, then Clip D (Image 4 → Image 5). Stack as many clips as you need to build 60+ second videos.
Related guides: Image Editing • Video Generation • Lipsync • Troubleshooting